
A Complete Beginner Runs Lucee on Docker (Mac)
I just got Docker up and running, and now I want to use it to run some of my actual ColdFusion code. I've primarily worked with Adobe ColdFusion (ACF), but at this point, the most prominent Docker development for CFML is being done with Lucee, so I'm going to use that for my initial attempt.
This post picks up where the initial Docker walkthrough left off, and continues to document the steps I took (minus some missteps) as a complete beginner to Docker. By the end I was able to run ColdFusion code, in Docker, on my machine (via Lucee).
Before you start, here are two tips that aren't necessary, but I found really helpful:
- If you use Sublime Text, install the Dockerfile Syntax highlighting via Package Control
- If you use Oh My Zsh shell (you should!), add the docker and docker-compose plugins to your
~/.zshrc.
On to the actual process. My first step was to locate the official Lucee image.
-
I searched hub.docker.com and found 53 repositories, but wasn't sure which I should start with.
a. The following is a digression that ultimately led me back to what I needed. I thought maybe the Lucee website would have information about the official image. I searched the site for a while and didn't find anything, until I came across this blog post. The blog linked to a post on the Lucee Dev message boards about the Lucee Docker Image Release Cycle, which was actually helpful. It included links to both the Lucee Docker Hub Registry, and...
-
What I actually needed was the Github repo for Dockerfiles for Lucee
-
The next step was to download the repo to my machine. I have a
toolsfolder for projects like this, but you can put it wherever works for your workflow; at this point it doesn't matter, because it will be mapped to your project root later. So, in my terminal I navigated to thetoolsfolder and ran:git clone git@github.com:lucee/lucee-dockerfiles.git cd lucee-dockerfiles
This downloaded the project and placed me in the directory, which I opened in Sublime Text via
subl .[^1] -
I began by editing
docker-compose.yml. I realized that all I really wanted was the latest version of Lucee (5.2), and at this point I didn't want to work with the nginx specific setup. So, I removed everything but the configuration forlucee52. -
The next step was to map the filesystem on the image to my local project. So, I uncommented
volumes, removed the Lucee workbench lines, and added a line for my local ColdFusion project. At this point, mydocker-compose.ymllooked like this:
lucee52:
  build: ./5.2
  ports:
   - "8052:8888"
  volumes:
    - /Users/matthew/path/to/my/coldfusion/project:/var/www
The mapping of volumes, like the mapping of ports, is based on the:(colon) separator. Your local path is on the left, the image's path is on the right.
A recommendation, especially if you're coming from ACF: when first getting started, don't map this to an actual project. Map it to a folder, with an index.cfm that simply dumps one of the scopes. That way you'll avoid Lucee code compatibility issues or errors in your own code causing problems. Once you've got it up and running, by all means set up containers for your projects.
All that's left to do is run docker-compose up. At this point, because you don't have the image locally, it will download everything that it needs, and set up the Lucee server on the Docker image. Once it completes, you'll be able to access your project at http://127.0.0.1:8052/. I simply dumped the CGI scope, so this is what I saw:
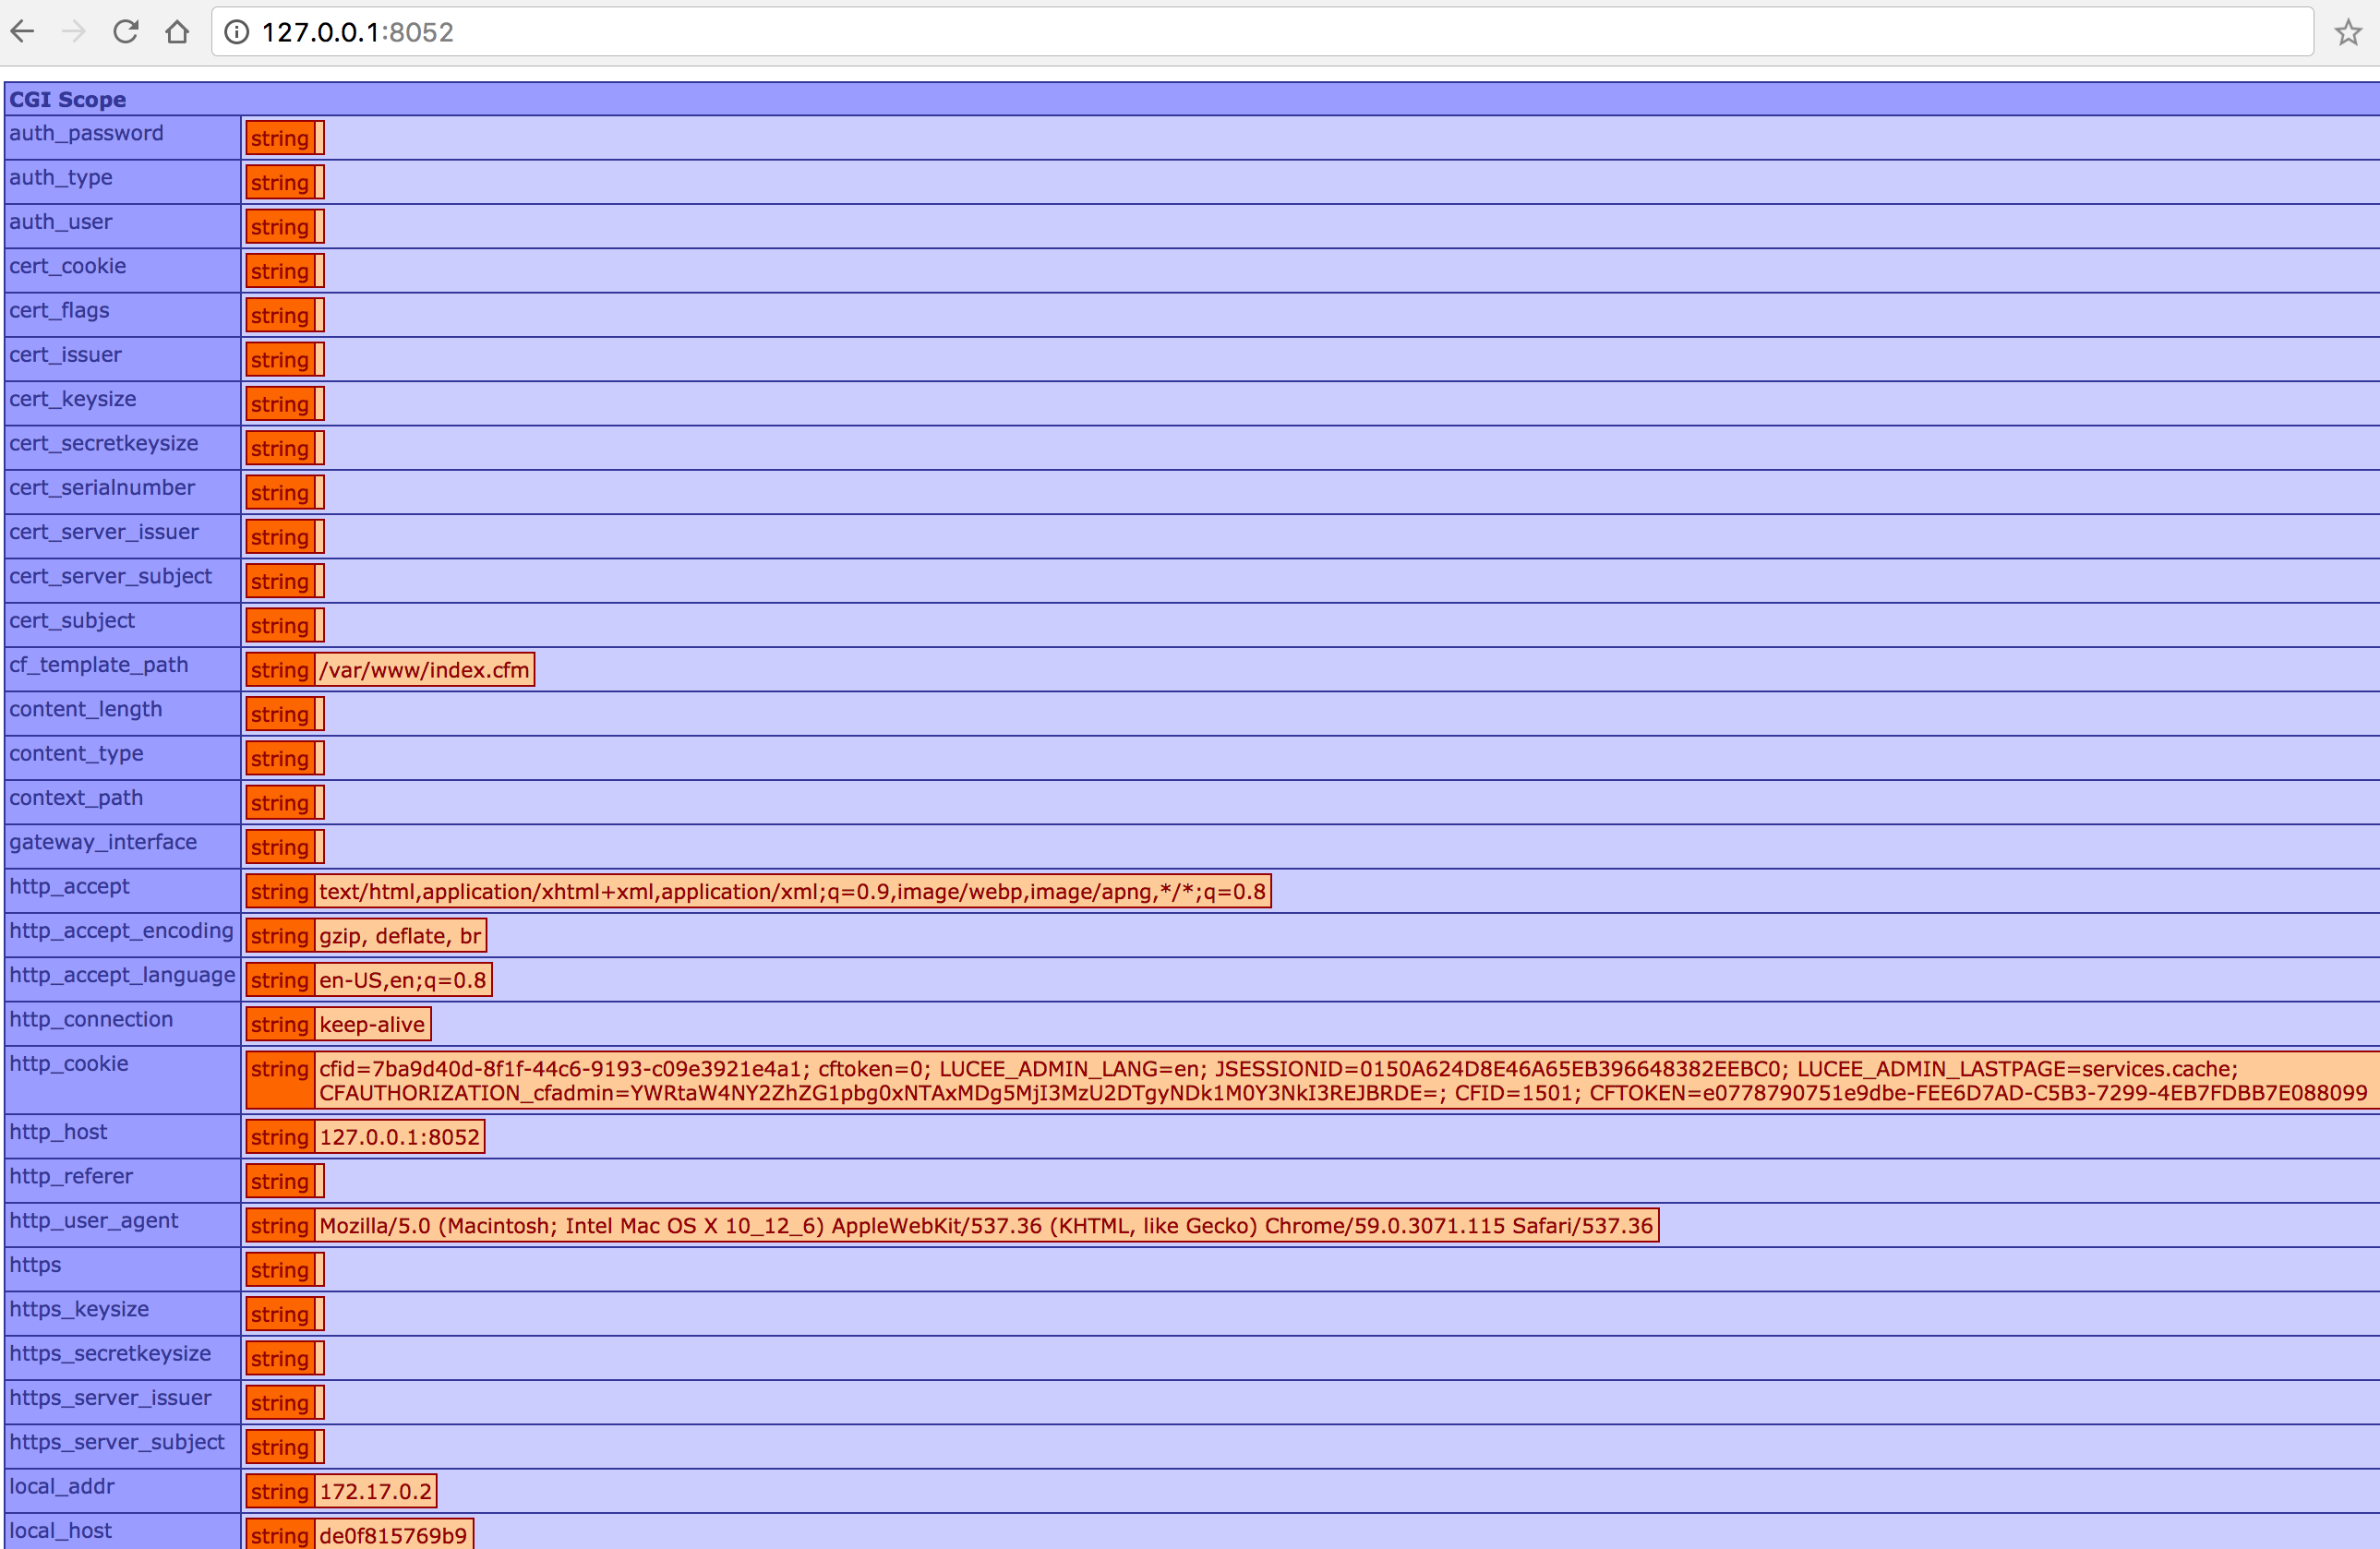
It's working. Your ColdFusion code is running on the server image.[^2]
Now, the next step is going to be getting an image of Adobe ColdFusion up and running. I'll tackle that process in the next post. It was actually easier than I expected (Thanks to CommandBox).
[^1]: This is pretty basic, but if you haven't [set up the symlink for Sublime](https://www.sublimetext.com/docs/3/osx_command_line.html), you should. [^2]: Coming from Adobe ColdFusion and want to access the server manager? It's located at [/lucee/admin/server.cfm](http://127.0.0.1:8052/lucee/admin/server.cfm)
